| |
This is a tutorial on how to sculpt a featureless head from a cube
with a minimum number of steps while attaining a model of a high
level of detail. Some of the steps may not seem to have
immediate purpose, but they're there in anticipation of later steps.
This tutorial is meant to walk you through the construction of a generic
head that will serve as template for you to build upon. Almost
each step is illustrated in the graphic on the right.
Fig. 0
- hit tab key to go into metanurbs mode
- select the rear polygons and hit "-" key to hide the
polygons from view
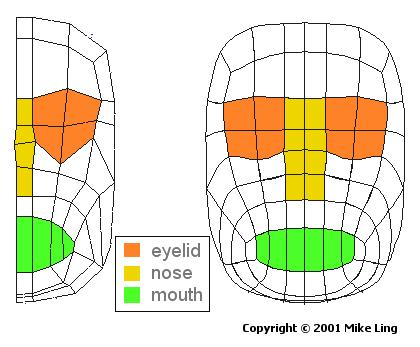
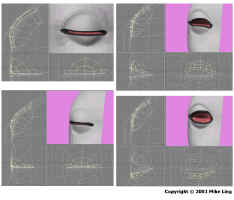
- go to the front view select the four polygons that forms the eye socket
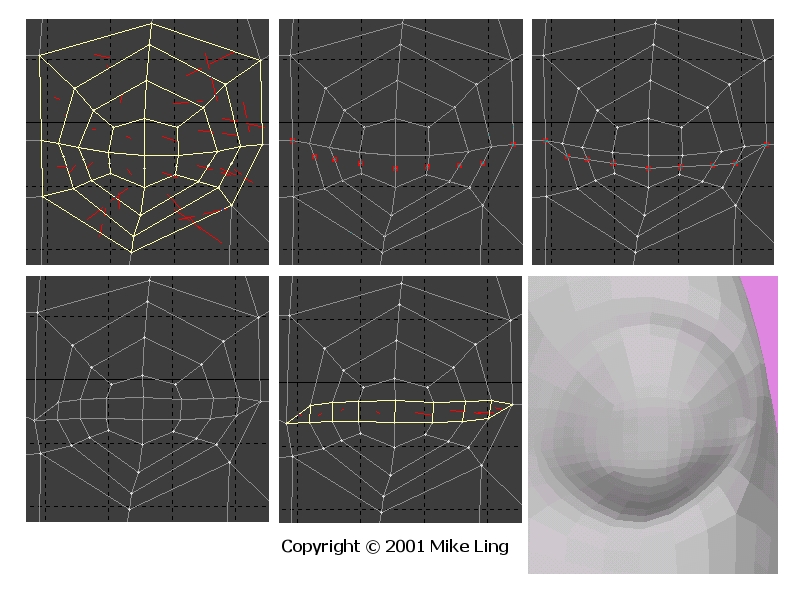
Fig.1
- smooth shift (offset 0) the polygons,
use stretch to adjust the width of the eyelid inside the eye
socket.,
then go to the profile view
move the polygons a small distance into the eye socket.
- go back to the front view
smooth shift the polygons again
use stretch tool to adjust the width of the polygons to fit inside
the last ring of polygons
go to profile view
move the polygons outwards from the eye socket.
adjust points and check with preview window, until eyelids are in
desired shape
- repeat step 2
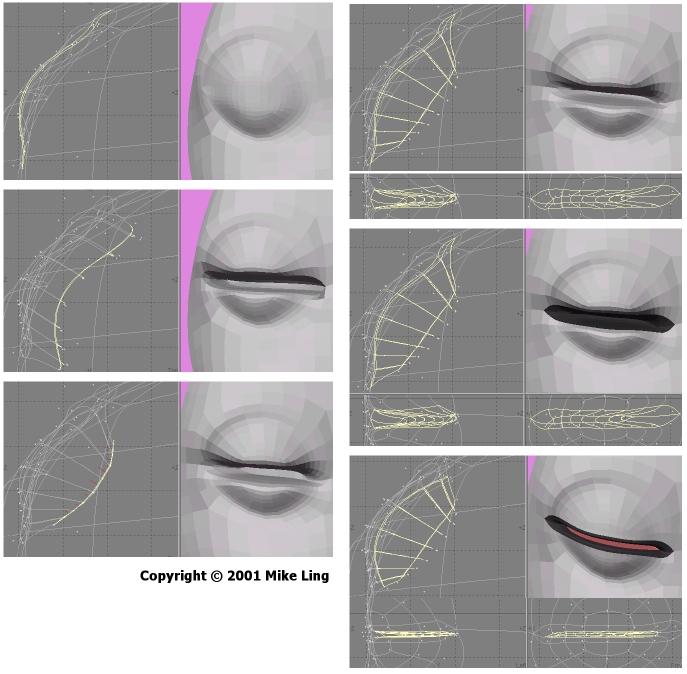
Fig.2
- make sure nothing is selected in both points and polygons modes
- in polygon mode, select the ring of polygons that form the eyelid
and eye socket
- under the "polygon" tab, under "Revise",
select the add points tool
- use the add points tool to create new points parallel to the inner
part of the middle horizontal line of the eyelid (do not add points
to the ends)
- switch to points mode
- starting from an end select the points one by one in sequential
order until you reach the other end
- under the "polygon" tab, under "Revise",
select the split tool. That should create a strip of polygons across
the eyelid.
- unselect points and polygons
- use the drag points tool to shape the slit of the eyelid
- when done dragging points, switch to polygon mode and select the
polygons of the eye slit.
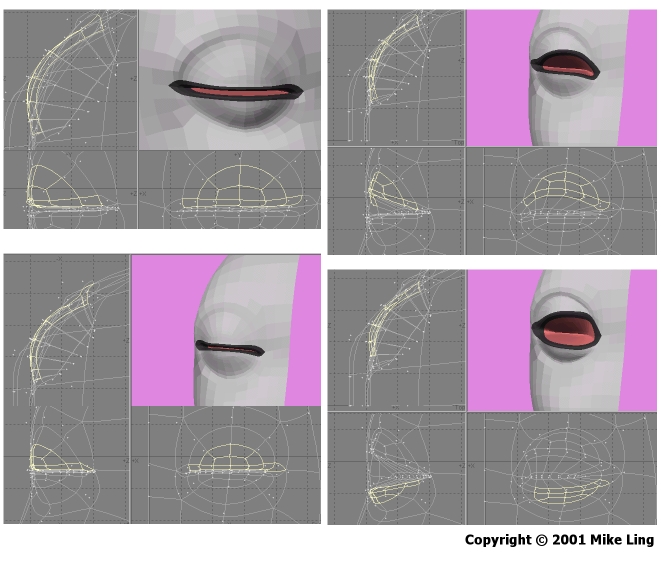
Fig.3
-
Copyright © 2001 Mike Ling
|
|
fig.0
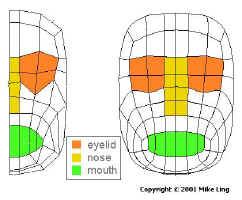
fig.1
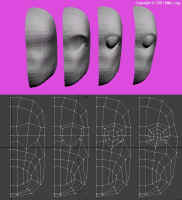
fig.2
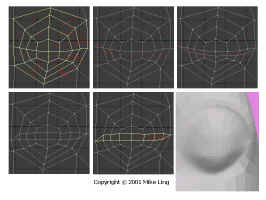
fig.3
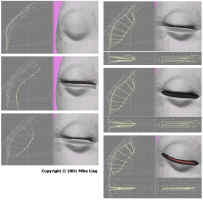
fig.4
Tools used in this tutorial
- add points
- merge points
- merge polygons
- metaform
- mirror tool
- set value
- smooth shift
- split polygon
- stretch
- subdivide polygon
- triple
|